
- 분류 전체보기 (506)

| 일 | 월 | 화 | 수 | 목 | 금 | 토 |
|---|---|---|---|---|---|---|
| 1 | 2 | 3 | 4 | |||
| 5 | 6 | 7 | 8 | 9 | 10 | 11 |
| 12 | 13 | 14 | 15 | 16 | 17 | 18 |
| 19 | 20 | 21 | 22 | 23 | 24 | 25 |
| 26 | 27 | 28 | 29 | 30 | 31 |
Tags
- React
- SSR
- dfs
- 무한 스크롤
- 리터럴 타입
- useAppDispatch
- 인터섹션
- map
- Jest
- 타입 좁히기
- 투포인터
- tailwind
- 공변성
- async/await
- RTK Query
- recoil
- Promise
- 결정 알고리즘
- Cypress
- 이분 검색
- 호이스팅
- 반공변성
- app router
- webpack
- ESlint
- TS
- CORS
- CI/CD
- autosize
- 태그된 유니온
Archives
- Today
- Total
짧은코딩
DAIRY 구현 본문
같은 함수를 여러 번 사용할 때
src에 util이라는 파일을 하나 만든다. 그리고 date.js로 파일을 만들고
// 처음부터 오늘의 날짜가 오게 해주기 위한 기능
export const getStringDate = (date) => {
  // 0~9까지 잘라준다.
  return date.toISOString().slice(0, 10);
};
반드시 앞에 export를 쓰고나서 중복해서 사용 하는 함수를 저장한다.
그 후에 중복 사용하는 파일에 가서
import { getStringDate } from "../util/date.js";import를 한다.
헤더
데이터 가져오기
import { useContext, useState } from "react";
import { useNavigate, useParams } from "react-router-dom";
import { useEffect } from "react";
import { DiaryStateContext } from "../App";

import { getStringDate } from "../util/date.js";
import MyHeader from "../components/MyHeader";

const Diary = () => {
  const { id } = useParams();
  const diaryList = useContext(DiaryStateContext);
  const navigate = useNavigate();
  // 존재하는 일기 저장하는 state
  const [data, setData] = useState();

  useEffect(() => {
    if (diaryList.length >= 1) {
      const targetDiary = diaryList.find(
        (it) => parseInt(it.id) === parseInt(id)
      );

      if (targetDiary) {
        // 일기가 존재할 때
        setData(targetDiary);
      } else {
        // 일기가 없을 때
        alert("없는 일기입니다.");
        navigate("/", { replace: true });
      }
    }
  }, [id, diaryList]);
데이터를 가져와준다. 대부분이 이 전에 했던 Edit.js와 비슷하다.
구현
if (!data) {
    return <div className="DiaryPage">로딩중입니다...</div>;
  } else {
    return (
      <div className="DiaryPage">
        <MyHeader
          headText={`${getStringDate(new Date(data.date))} 기록`}
          leftchild={
            <MyButton text={"< 뒤로가기"} onClick={() => navigate(-1)} />
          }
          rightchild={
            <MyButton
              text={"수정하기"}
              onClick={() => navigate(`/edit/${data.id}`)}
            />
          }
        />
      </div>
    );
  }
data가 있냐 없냐로 구분하고 헤더를 만들어준다. 버튼은 뒤로가기와 수정하기를 만들었다.

오늘의 감정
데이터 가져오기
-emotion.js
// 감정 리스트
export const emotionList = [
  {
    emotion_id: 1,
    emotion_img: process.env.PUBLIC_URL + `/assets/emotion1.png`,
    emotion_descript: "완전 좋음",
  },
  {
    emotion_id: 2,
    emotion_img: process.env.PUBLIC_URL + `/assets/emotion2.png`,
    emotion_descript: "좋음",
  },
  {
    emotion_id: 3,
    emotion_img: process.env.PUBLIC_URL + `/assets/emotion3.png`,
    emotion_descript: "그럭저럭",
  },
  {
    emotion_id: 4,
    emotion_img: process.env.PUBLIC_URL + `/assets/emotion4.png`,
    emotion_descript: "나쁨",
  },
  {
    emotion_id: 5,
    emotion_img: process.env.PUBLIC_URL + `/assets/emotion5.png`,
    emotion_descript: "끔찍함",
  },
];
여기에서는 감정 리스트를 사용해야해서 DiaryEditor.js에 있던 emotionList를 util에 emotion.js로 만들어준다.
-Diary.js
    // 감정 데이터에서 가져오는 데이터
    const curEmotionData = emotionList.find(
      (it) => parseInt(it.emotion_id) === parseInt(data.emotion)
    );
    console.log(curEmotionData);
감정 데이터를 가져와 준다.
 {/* 오늘의 감정 */}
        <article>
          <section>
            <h4>오늘의 감정</h4>
            <div
              className={[
                "diary_img_wrapper",
                `diary_img_wrapper_${data.emotion}`,
              ].join(" ")}
            >
              <img src={curEmotionData.emotion_img} />
              <div className="emotion_descript">
                {curEmotionData.emotion_descript}
              </div>
            </div>
          </section>
        </article>
-App.css
.DiaryPage section {
  width: 100%;
  margin-bottom: 100px;

  display: flex;
  flex-direction: column;
  align-items: center;
  text-align: center;
}

.DiaryPage h4 {
  font-size: 22px;
  font-weight: bold;
}

.DiaryPage .diary_img_wrapper {
  background-color: #ececec;
  width: 250px;
  height: 250px;
  border-radius: 5px;
  display: flex;
  flex-direction: column;
  align-items: center;
  justify-content: space-around;
}

.DiaryPage .diary_img_wrapper_1 {
  background-color: #64c964;
}
.DiaryPage .diary_img_wrapper_2 {
  background-color: #9dd772;
}
.DiaryPage .diary_img_wrapper_3 {
  background-color: #fdce17;
}
.DiaryPage .diary_img_wrapper_4 {
  background-color: #fd8446;
}
.DiaryPage .diary_img_wrapper_5 {
  background-color: #fd565f;
}

.DiaryPage .emotion_descript {
  font-size: 25px;
  color: white;
}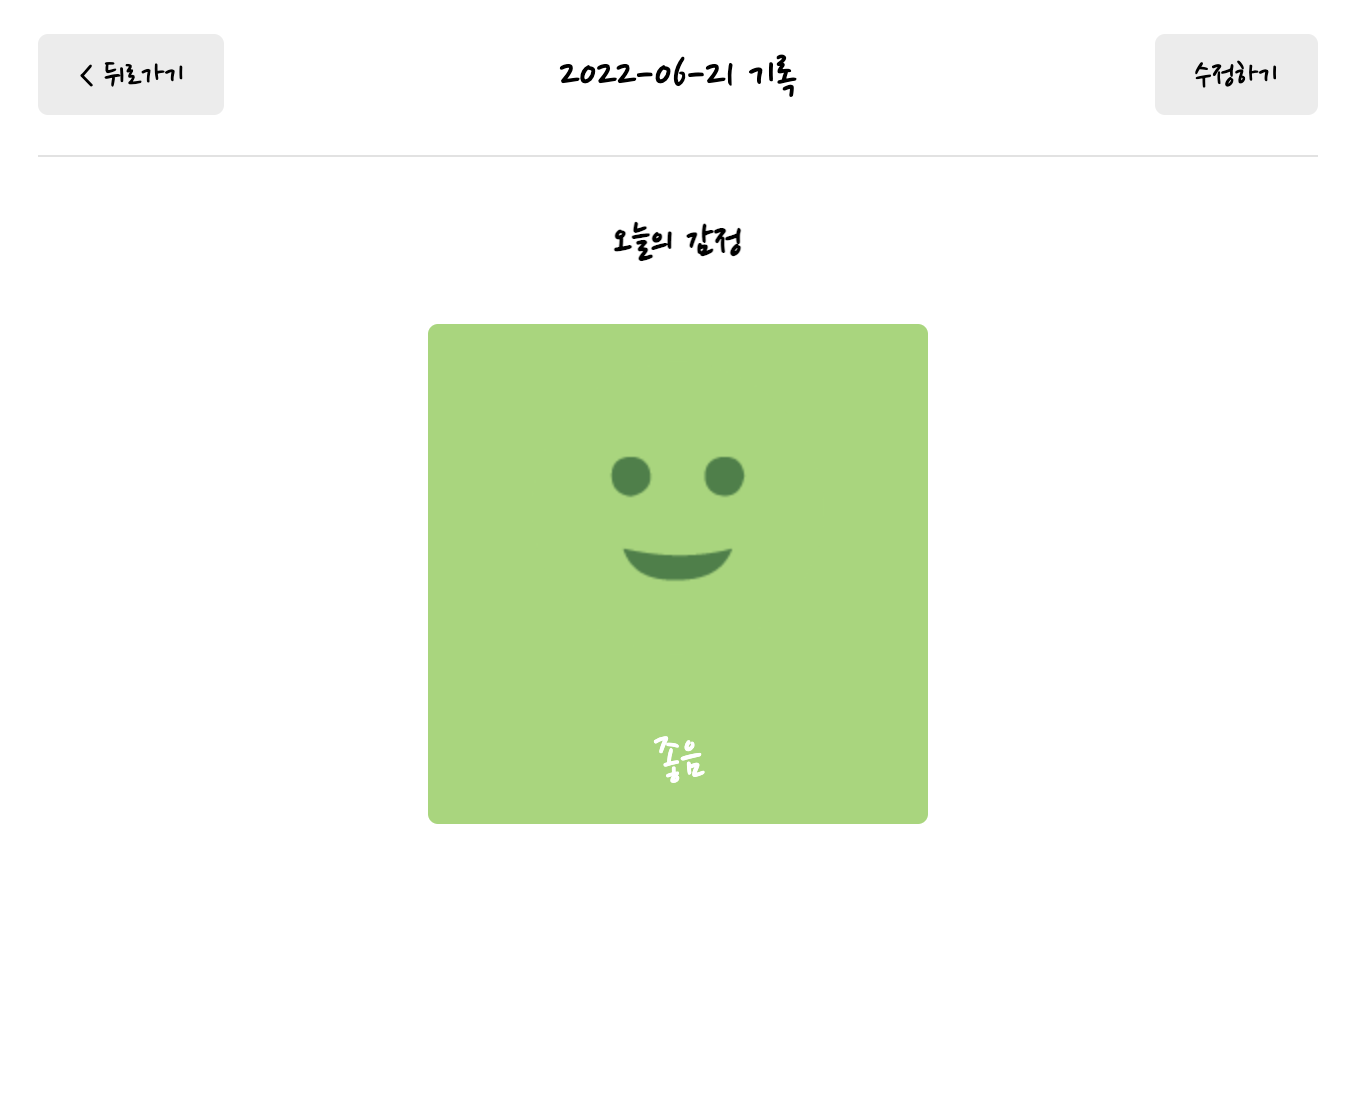
이렇게 완성된다.
오늘의 일기
-Diary.js
{/* 오늘의 일기 */}
          <section>
            <h4>오늘의 일기</h4>
            <div className="diary_content_wrapper">
              <p>{data.content}</p>
            </div>
          </section>
-App.css
.DiaryPage .diary_content_wrapper {
  /* width: 100%가 아니면 밑에 속성 left가 안된다. */
  width: 100%;
  background-color: #ececec;
  border-radius: 5px;
  /* 줄이 길어져서 줄이 나눠질 때 단어를 쪼개지 말라는 속성 */
  word-break: keep-all;
  /* 텍스트가 많아지면 끊어서 아래 줄에 가게하는 속성 */
  overflow-wrap: break-word;
}

.DiaryPage .diary_content_wrapper p {
  padding: 20px;
  text-align: left;
  font-size: 20px;
  font-family: "Yeon Sung";
  font-weight: 400;
  /* 글자의 높이 지정 */
  line-height: 2.5;
}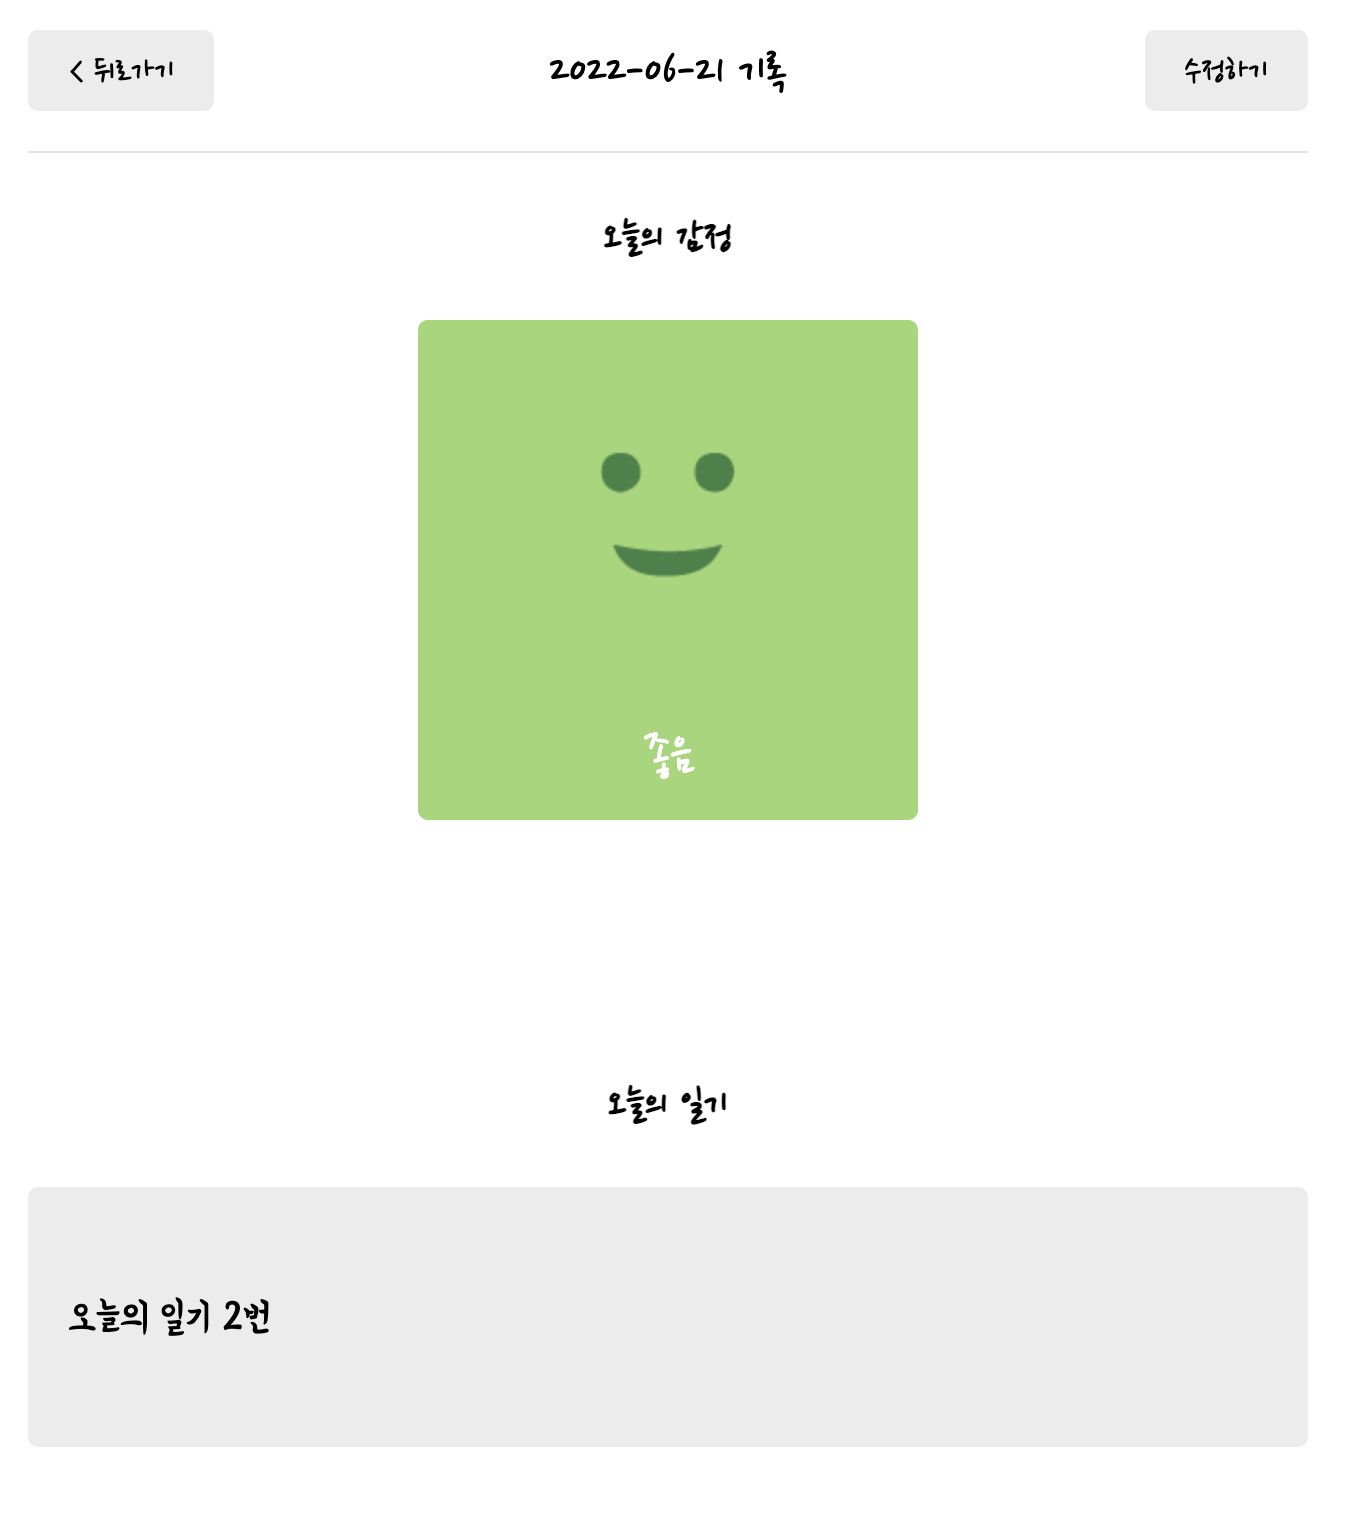
이렇게 완성이된다.
728x90
반응형
'인프런, 유데미 > 한입 크기로 잘라 먹는 리액트' 카테고리의 다른 글
| LocalStorage를 일기 DB로 사용하기 (0) | 2022.06.24 |
|---|---|
| 흔한 버그 수정하기 (0) | 2022.06.24 |
| EDIT 구현 (0) | 2022.06.23 |
| 일기 쓰기 구현 (0) | 2022.06.22 |
| HOME 구현하기 (0) | 2022.06.21 |
'인프런, 유데미/한입 크기로 잘라 먹는 리액트' Related Articles
more


Comments